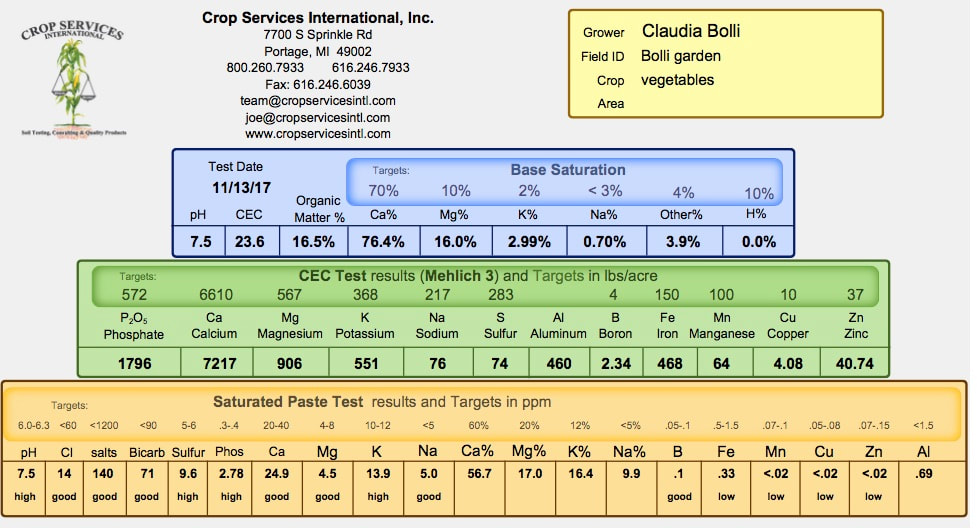
A couple of years ago, I decided to mail off a soil sample to Crop Services International, a soils lab in the US. I was curious about the process, results and suggested action.
The lab specializes in testing and recommendations for organic food production and this kind of testing is not available in Canada as far as I know. The recommendations I received were given for a 1000 square foot organic garden. According to the test, my soil was a bit high in the major nutrients (Ca, Mg, P, K) so I don't need to worry too much about supplemental fertilizer applications.
The test indicated a slight shortage on sulfur, copper and boron.
The information I received was detailed, with specific recommended amendments given. However, the testing and shipping was rather costly and finding the recommended amendments in small enough amounts for an urban yard is simply not practical.
So what’s the lesson? This kind of testing is most useful for a market gardener or farmer with many acres, where regular laboratory testing and amending with specific minerals would contribute to seeing trends on a larger scale. Fortunately, our Edmonton area soils are fairly well balanced in terms of nutrients and minerals (clay is rich in minerals), and the biggest complaint is that it’s clumpy and hard.
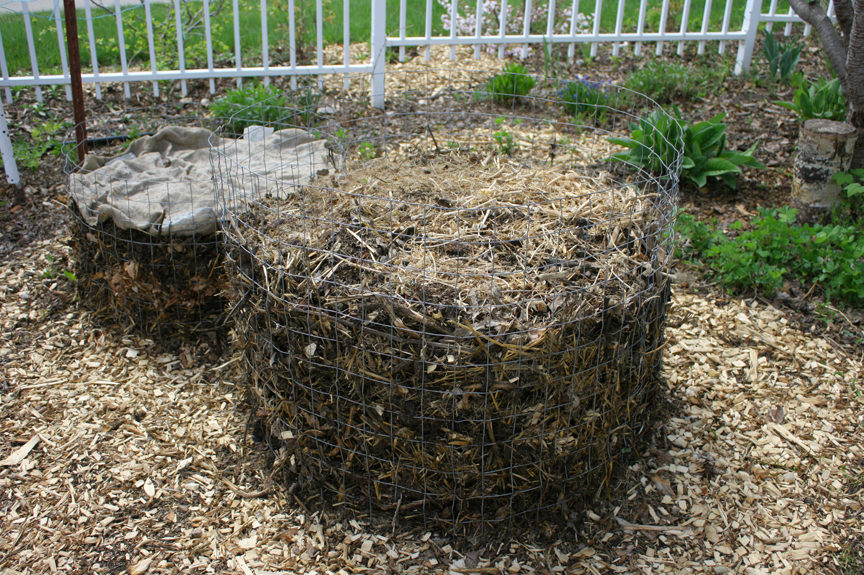
Our best bet is to lightly dig in or simply spread out homemade compost every fall or spring. Worm compost is also excellent. Compost adds organic matter which helps to improve the texture and increases the number and diversity of microorganisms. The critters in the soil help our plants access more nutrients and ward off disease.
Products containing seaweed or kelp can be used once in a while to provide vitamins, amino acids and plant growth hormones to our plants. If leafy greens (lettuce, spinach, chard etc) are not growing well or if the new growth is slightly yellowish, the soil might be low in nitrogen. However, in early spring the soil is still cold and the microbes less active, so as it warms up, more nitrogen becomes available to plants. If growth is still lacking in early June, a fish fertilizer adds some extra nutrients. Peas and beans also supply nitrogen to the soil, so growing them in a bed that will be used for leafy greens in the next season is helpful.
Very well composted animal manure can provide nitrogen, but it also increases potassium and salt levels. It’s best to stick to plant based compost and use composted animal manure in smaller amounts.
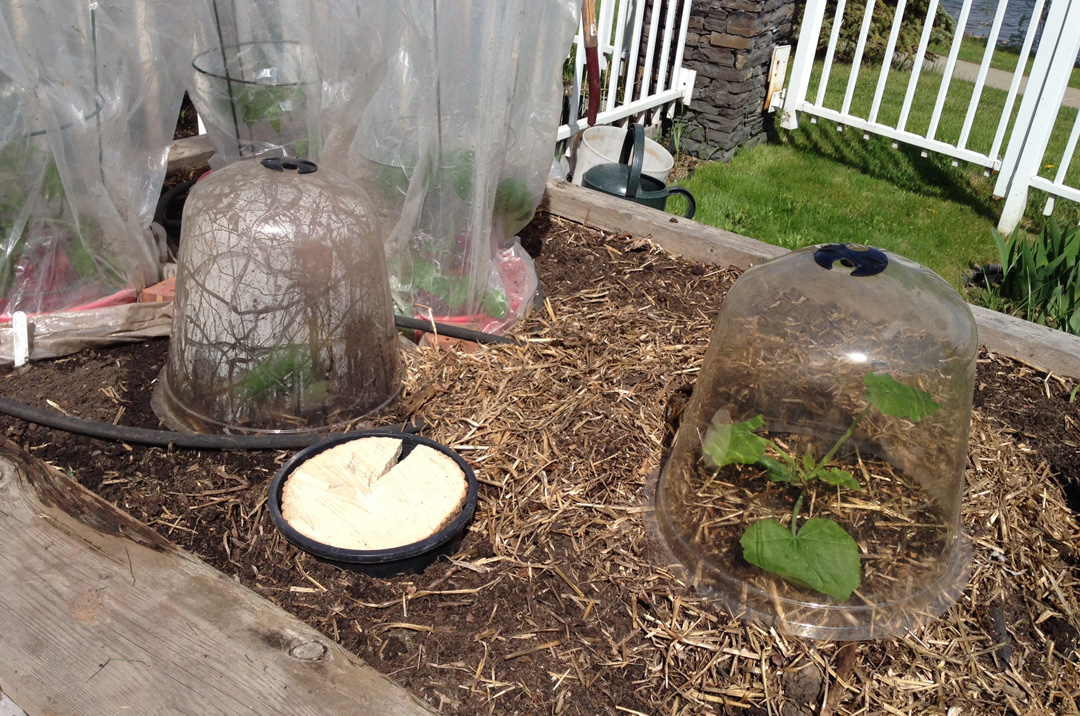
To avoid compaction, we must not step on our beds unless absolutely necessary, especially when the soil is wet. In the summer, I mulch veggie beds with straw to help maintain more even moisture. The straw breaks down somewhat, adding carbon to the soil and protecting the microorganisms near the soil surface. In the spring, I add that straw into the compost pile or bag it up for later use.
The lab specializes in testing and recommendations for organic food production and this kind of testing is not available in Canada as far as I know. The recommendations I received were given for a 1000 square foot organic garden. According to the test, my soil was a bit high in the major nutrients (Ca, Mg, P, K) so I don't need to worry too much about supplemental fertilizer applications.
The test indicated a slight shortage on sulfur, copper and boron.
The information I received was detailed, with specific recommended amendments given. However, the testing and shipping was rather costly and finding the recommended amendments in small enough amounts for an urban yard is simply not practical.
So what’s the lesson? This kind of testing is most useful for a market gardener or farmer with many acres, where regular laboratory testing and amending with specific minerals would contribute to seeing trends on a larger scale. Fortunately, our Edmonton area soils are fairly well balanced in terms of nutrients and minerals (clay is rich in minerals), and the biggest complaint is that it’s clumpy and hard.
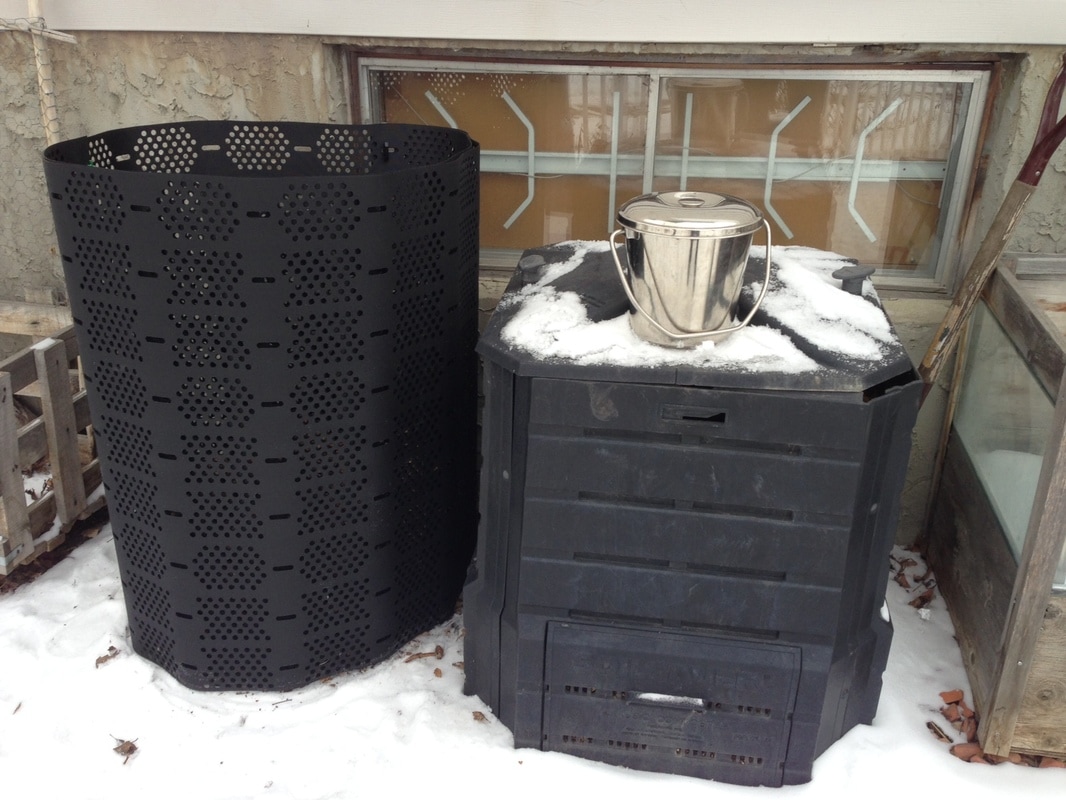
Our best bet is to lightly dig in or simply spread out homemade compost every fall or spring. Worm compost is also excellent. Compost adds organic matter which helps to improve the texture and increases the number and diversity of microorganisms. The critters in the soil help our plants access more nutrients and ward off disease.
Products containing seaweed or kelp can be used once in a while to provide vitamins, amino acids and plant growth hormones to our plants. If leafy greens (lettuce, spinach, chard etc) are not growing well or if the new growth is slightly yellowish, the soil might be low in nitrogen. However, in early spring the soil is still cold and the microbes less active, so as it warms up, more nitrogen becomes available to plants. If growth is still lacking in early June, a fish fertilizer adds some extra nutrients. Peas and beans also supply nitrogen to the soil, so growing them in a bed that will be used for leafy greens in the next season is helpful.
Very well composted animal manure can provide nitrogen, but it also increases potassium and salt levels. It’s best to stick to plant based compost and use composted animal manure in smaller amounts.
To avoid compaction, we must not step on our beds unless absolutely necessary, especially when the soil is wet. In the summer, I mulch veggie beds with straw to help maintain more even moisture. The straw breaks down somewhat, adding carbon to the soil and protecting the microorganisms near the soil surface. In the spring, I add that straw into the compost pile or bag it up for later use.


 RSS Feed