Last winter, I had some small Georgia Jet sweet potatoes left over and they started sprouting in January (see blog post below). I pulled off the small plants ("slips"), and potted them up in containers filled with potting mix. I managed to overwinter them until spring, placing them under fluorescent lights in March.
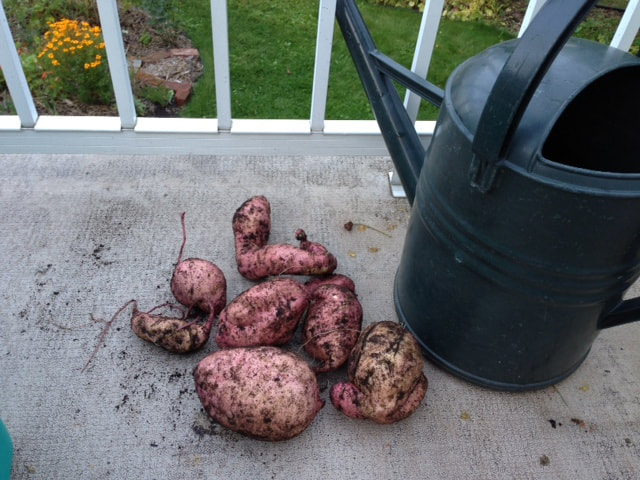
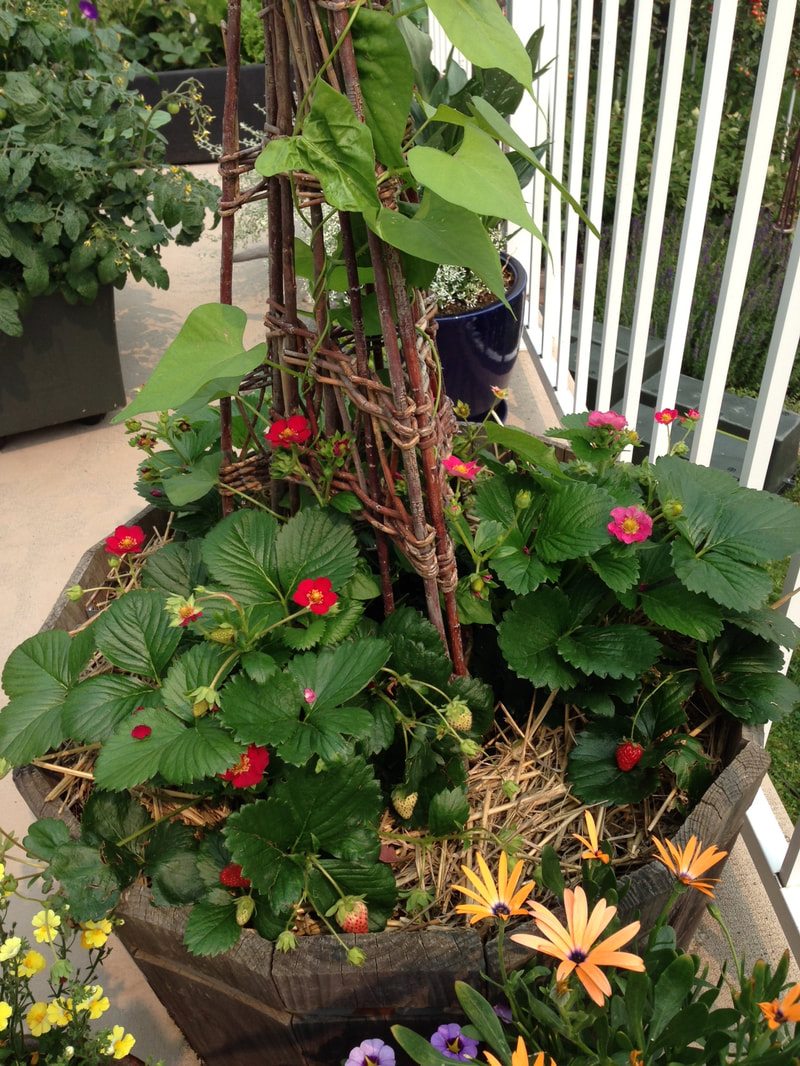
In the summer of 2018, I decided to compare the growth of sweet potatoes both in a very large container on our deck, and some in my community garden plot. What a difference! I had “huge” sweet potatoes in the containers filled with 75% potting mix and 25% compost, with an addition of some organic veggie fertilizer. Two plants yielded about 8 beautiful potatoes. It was certainly not a bumper crop, but really enjoyable.
By comparison, the sweet potatoes in my community garden plot were skinny and small. The soil is rich clay soil that produces many great veggies suitable for our short season. For sweet potatoes, it is too heavy and takes too much time to warm up in the spring and after rain.
Therefore, I will grow sweet potatoes again in large containers in the sunniest area of my yard.
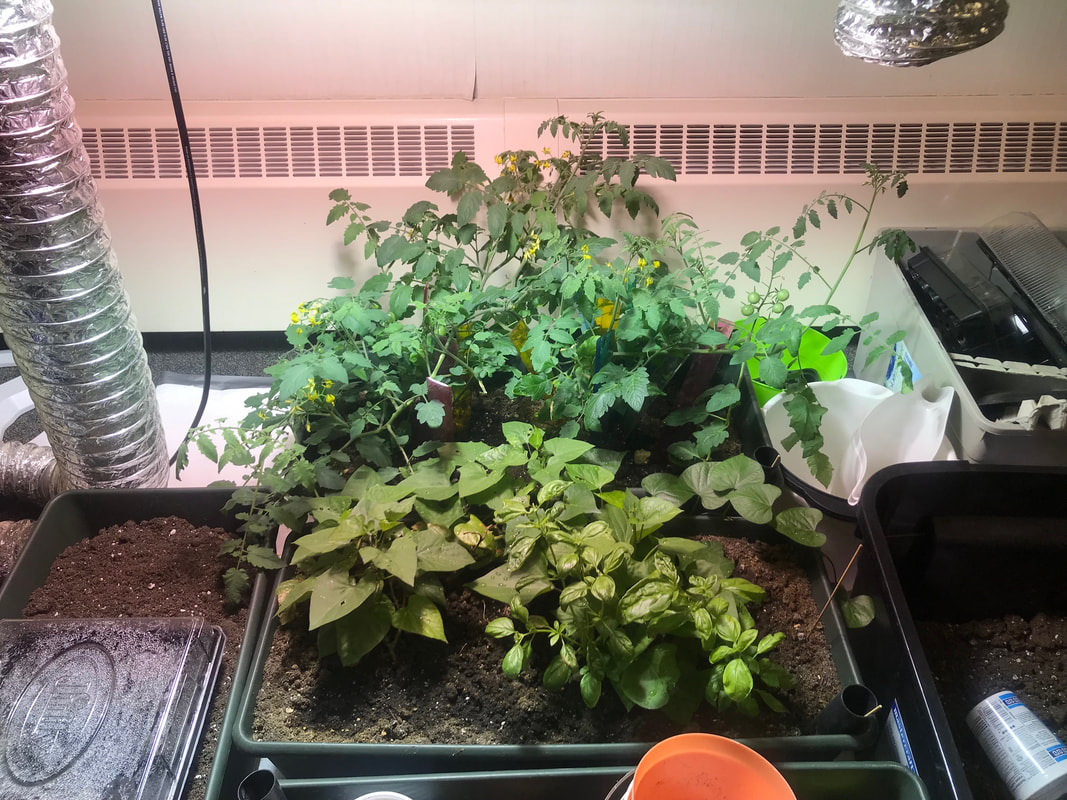
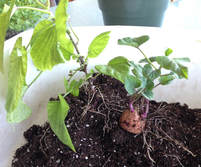
After the tuber harvest and a frost that killed my sweet potato foliage, I decided to plant one of the fibrous roots into a pot. Sure enough, it eventually leafed out again. I took some "slips" and planted them in 4 inch pots. The plants grew very nicely, but I realized that keeping these plants alive from December to May is not realistic. I gave them to a Little Green Thumbs teacher, and she planted them with her students into earthboxes in her indoor garden. A recent photo shows the growing very nicely!
Want to try your own sweet potatoes? A friend has already put in our order for slips from Mapple Farm (NB) as they sell out fairly quickly. Other sources:
Burts Greenhouses (ON)
Gelert Garden Farm (ON)
Sage Garden Greenhouses (MN)
Veseys (PEI)
In the summer of 2018, I decided to compare the growth of sweet potatoes both in a very large container on our deck, and some in my community garden plot. What a difference! I had “huge” sweet potatoes in the containers filled with 75% potting mix and 25% compost, with an addition of some organic veggie fertilizer. Two plants yielded about 8 beautiful potatoes. It was certainly not a bumper crop, but really enjoyable.
By comparison, the sweet potatoes in my community garden plot were skinny and small. The soil is rich clay soil that produces many great veggies suitable for our short season. For sweet potatoes, it is too heavy and takes too much time to warm up in the spring and after rain.
Therefore, I will grow sweet potatoes again in large containers in the sunniest area of my yard.
After the tuber harvest and a frost that killed my sweet potato foliage, I decided to plant one of the fibrous roots into a pot. Sure enough, it eventually leafed out again. I took some "slips" and planted them in 4 inch pots. The plants grew very nicely, but I realized that keeping these plants alive from December to May is not realistic. I gave them to a Little Green Thumbs teacher, and she planted them with her students into earthboxes in her indoor garden. A recent photo shows the growing very nicely!
Want to try your own sweet potatoes? A friend has already put in our order for slips from Mapple Farm (NB) as they sell out fairly quickly. Other sources:
Burts Greenhouses (ON)
Gelert Garden Farm (ON)
Sage Garden Greenhouses (MN)
Veseys (PEI)


 RSS Feed